Royal Neighbors of America Header Image
Search

3-Step Shrug

Teal Banner Copy Goes Here (OR DELETE)

DIFFERENCE MAKER FUND PROJECT – DIY STEPS


Materials Needed: soft fabric (20” long by 60” wide), scissors, thread, chalk, and measuring tape. Optional: sewing machine and yardstick
  1. Cut and Sew the Fabric Edges
    Cut the fabric to 20” long by 60” wide (30” folded in half). Using the length of fabric, sew a one-inch hem along the sides that measure 60 inches. Then sew a 2 inch casing on the shorter sides.
  2. Pin and Sew the Fabric
    Pin the long edges together, with the right sides facing each other. Mark 9” from each short end, stitch a seam from the short end to the 9” march using a 1/4 - 3/8 seam allowance, and press each seam open leaving a 30” open in the center.
  3. Fold and Finish
    Fold down the unsewn edges of the center and sleeve opening edges, opening the same width as the seam allowance used in Step 2, and press in place. Topstitch (row of continuous stitches) the top and bottom edges of the center and sleeving openings 1/4” from the edge to finish the shrug.


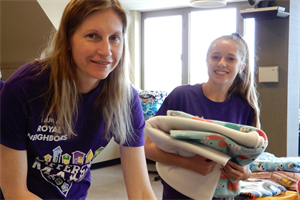
Fabric Shrugs
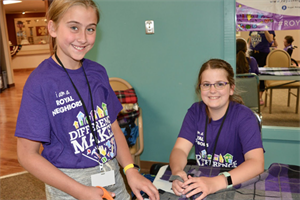
Cut Fabric Shrugs
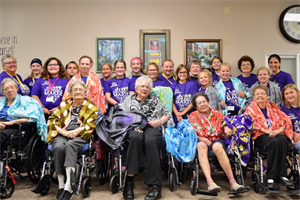
Group with Shrugs


You are Finished! Wasn't that easy?

Be sure to document everything with lots of photos to share with Royal Neighbors. This is also the time to send thank-you notes to your donors and volunteers.

Close Button
Form #: P00489; Rev. 6-2021